Your ears are filled with the sound of birds chirping,
your lungs are filled with the clean air with the scent of pine,
there's nothing but trees around you.
That's what it was like when we walked into the Kisatchie National Forest, off Camp Claiborne in Forest Hill LA.
There were trees as far as the eye could see and my photos don't do it justice to how gorgeous it was.
We were in the forest in the late afternoon and there wasn't a sound but birds chirping.
In total, the Kisatchie National Forest covers over 600, 000 acres across seven different Louisiana parishes.
It's filled with gorgeous longleaf pine forests with camping facilities and 400 miles of trails for hiking and ATV riding.
In different areas you can also go swimming, boating and fishing.
As it turns out, it's also a good place to propose to someone,
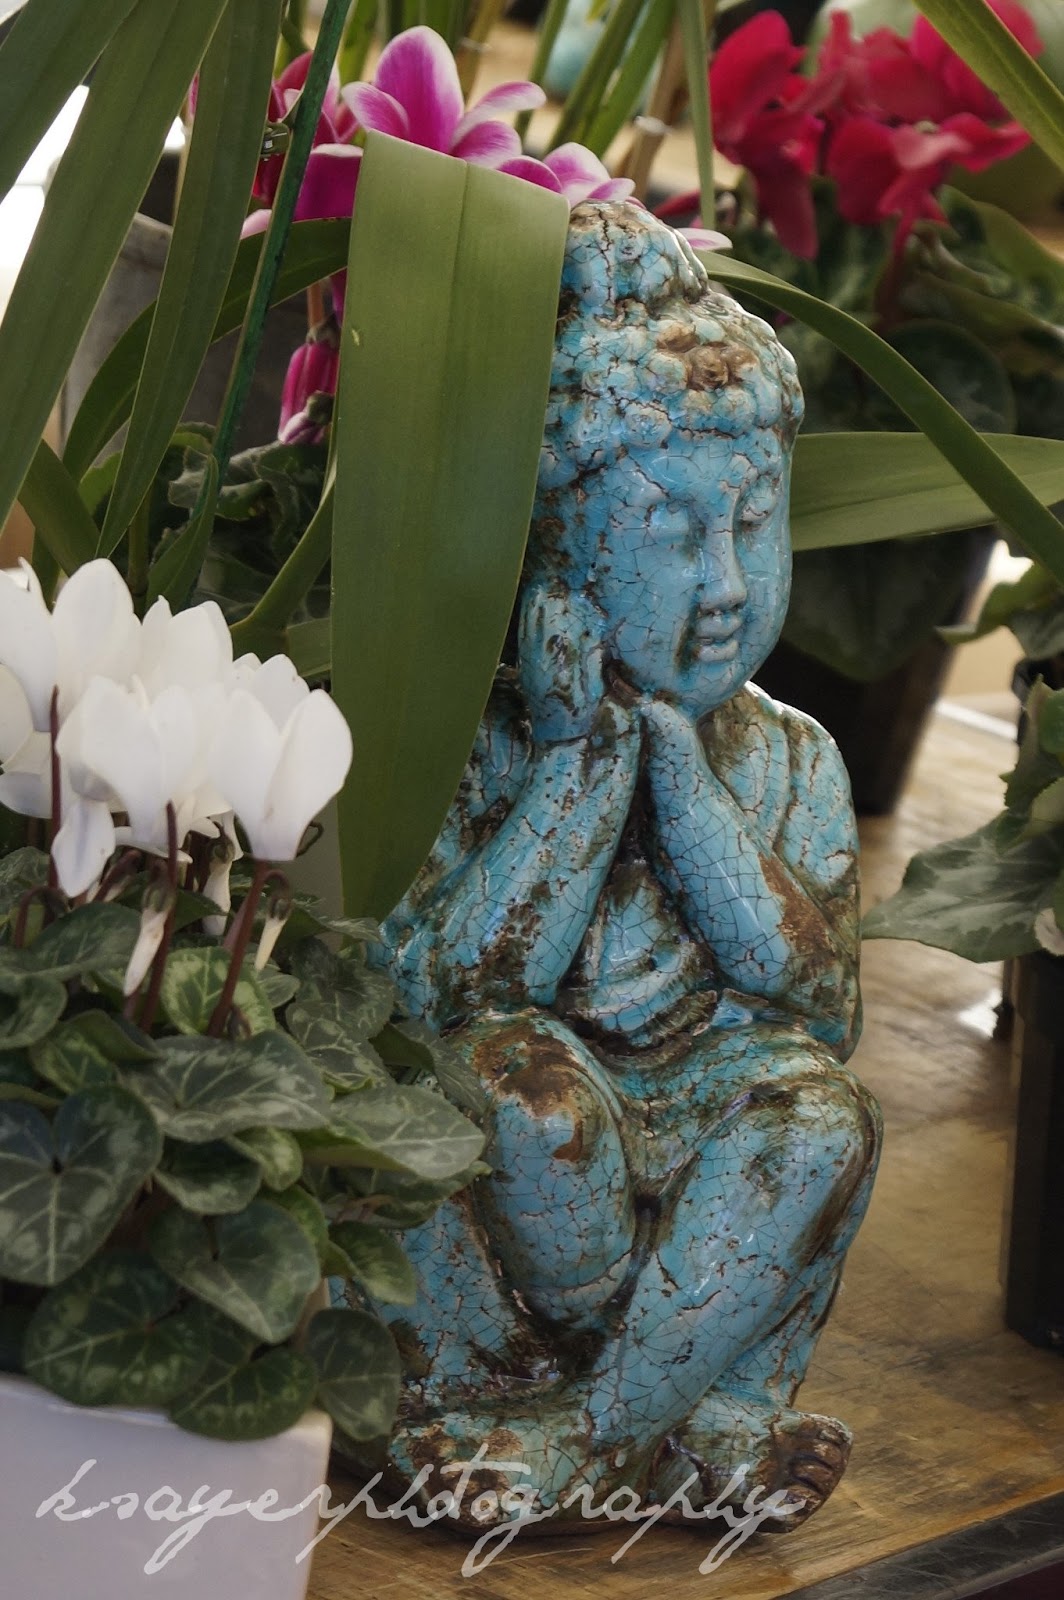
Jesse told me that morning that after we went for lunch with his Mom and her husband we'd be going "somewhere pretty" so that I could take photos before I left the next day.
Once we got back after lunch we were soon in the car again, on the way to the forest.
But my camera wasn't the only thing in the back pack!
Before I knew it, Jesse was down on one knee asking me to marry him.
Of course I said yes! :)
So tell me ladies,
If you've been proposed to, where was it?
If not, what would your dream proposal be?
Are you all for a big song and dance?
Or, like me, do you prefer something more intimate?
Any men out there who have/are planning to propose to their lady?


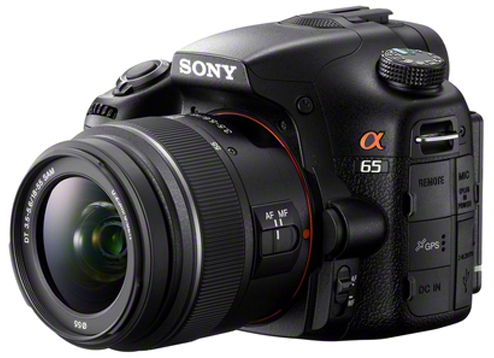
 Sony
do not currently make DSLRs like my current camera and have instead
moved onto the DSLTs. I actually just wrote an article for HubPages on What is a DSLT camera? but I'll give you a quick outline!
Sony
do not currently make DSLRs like my current camera and have instead
moved onto the DSLTs. I actually just wrote an article for HubPages on What is a DSLT camera? but I'll give you a quick outline!  While
the camera has a different functionality of DSLRs the images it
captures are crisp and clear thanks to the 24.3 mega pixels - that's
more than double my little baby.
While
the camera has a different functionality of DSLRs the images it
captures are crisp and clear thanks to the 24.3 mega pixels - that's
more than double my little baby.  What about the price? I know, that's what you're likely thinking if you're in the market for a new camera - the a65 with the standard lens kit
is priced at $1, 299.00 (Sony's price). It's quite a reasonable price
for a camera that produces such high quality images and this is because
the DSLTs are cheaper to manufacture.
What about the price? I know, that's what you're likely thinking if you're in the market for a new camera - the a65 with the standard lens kit
is priced at $1, 299.00 (Sony's price). It's quite a reasonable price
for a camera that produces such high quality images and this is because
the DSLTs are cheaper to manufacture.